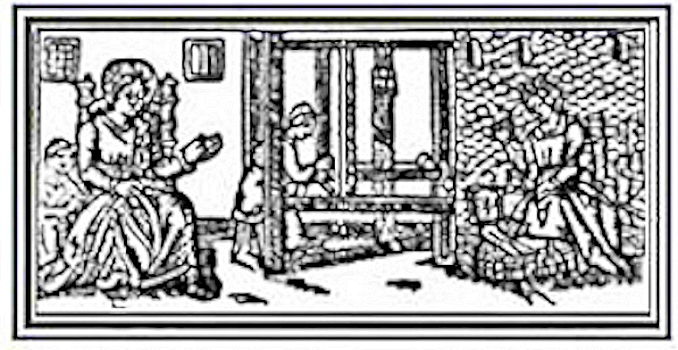

I find that warping a loom from the Front to the Back, much faster and easier than the traditional method of warping from Back to Front. You don’t need to use a raddle as the reed separates the warp threads evenly across the loom. I use this warping method quite a lot as I often put on shorter warps (5-6) meters and work with wool, linen and cotton threads with setts ranging from 5 to 30 epi.
I do use a Back to Front beaming method and a sectional warp beam if I am weaving with very fine silk threads with +30 epi setts and longer warps (20-30) meters, as these can get tangled while beaming.
You can use the Front to Back warping method on any size of loom – a rigid heddle, or a large floor loom.
Here is how I warp an Ashford Table Loom.

After you have wound the warp, put 2 lease sticks into the cross, and tie this to the front beam of the table loom.

Cut the warp ends that are draped over the front beam.
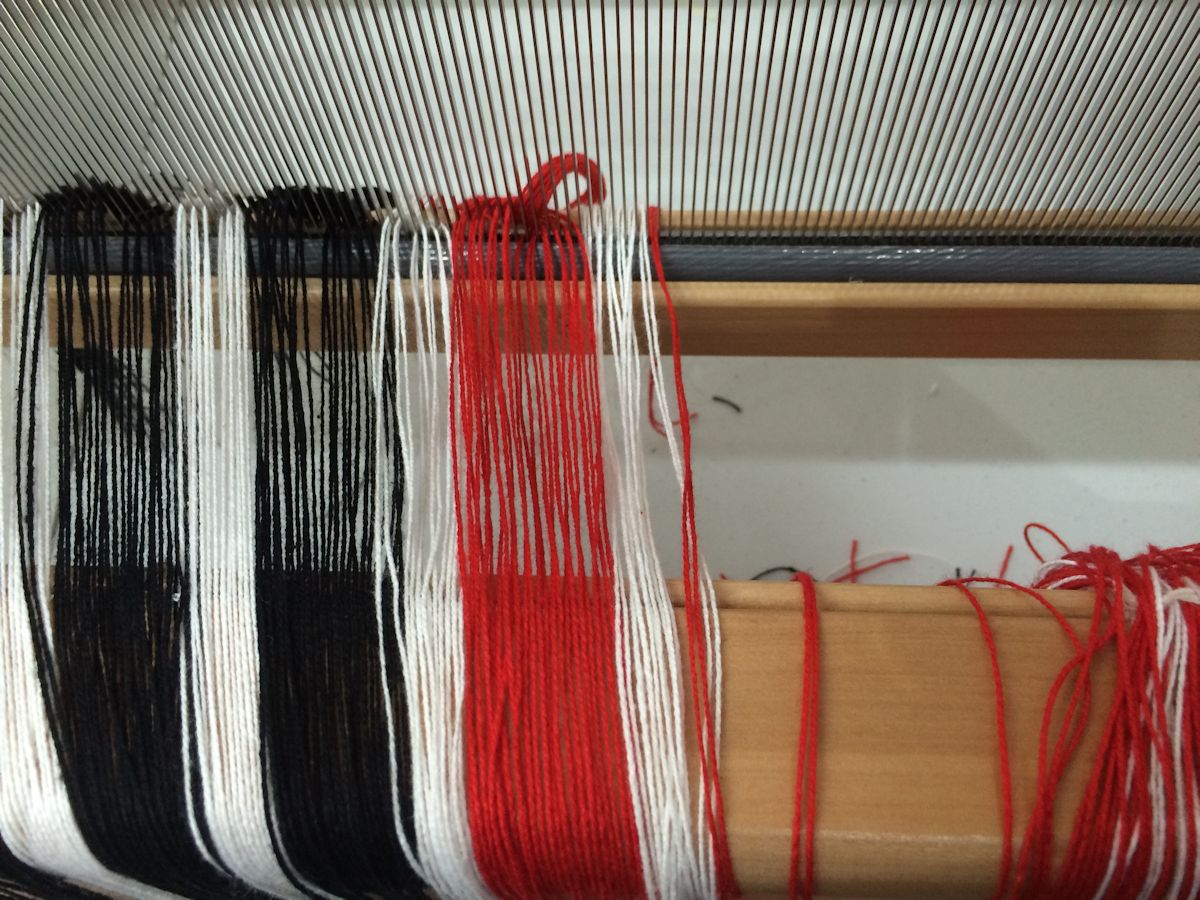
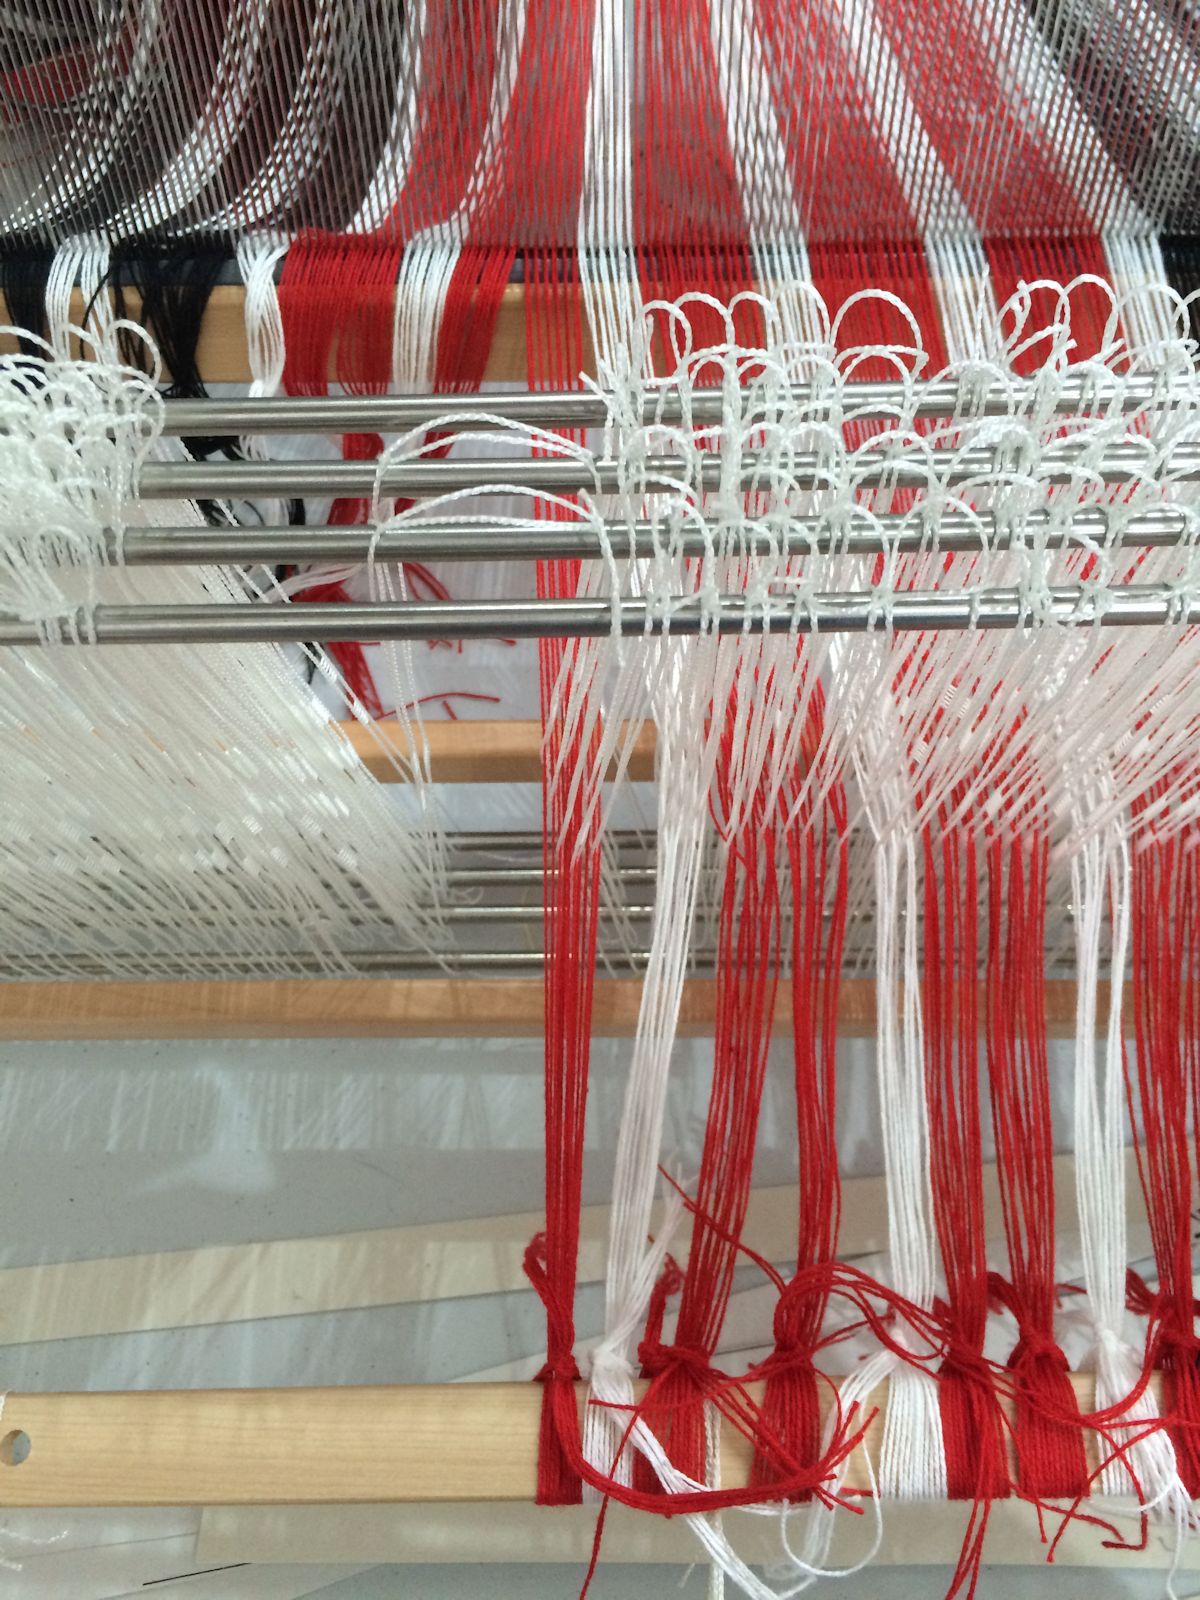
Sley the reed – Thread the cut warp ends through the reed to the correct sett. In this project I am threading 2 ends per dent.

As you thread the warp ends through the reed, lightly tie them in small groups behind the reed, to secure them while you warp.
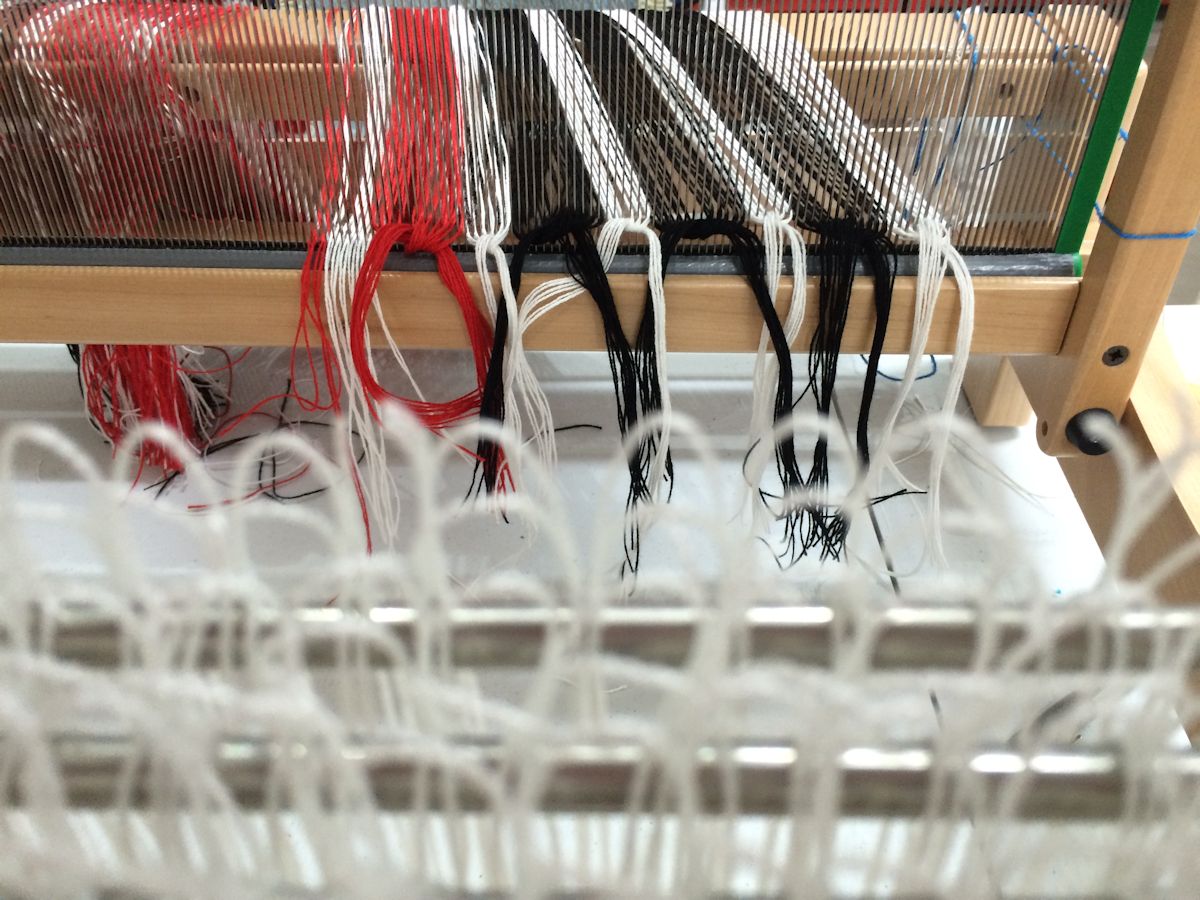
Once all the warp ends have been threaded through the reed, move to the back of the loom.
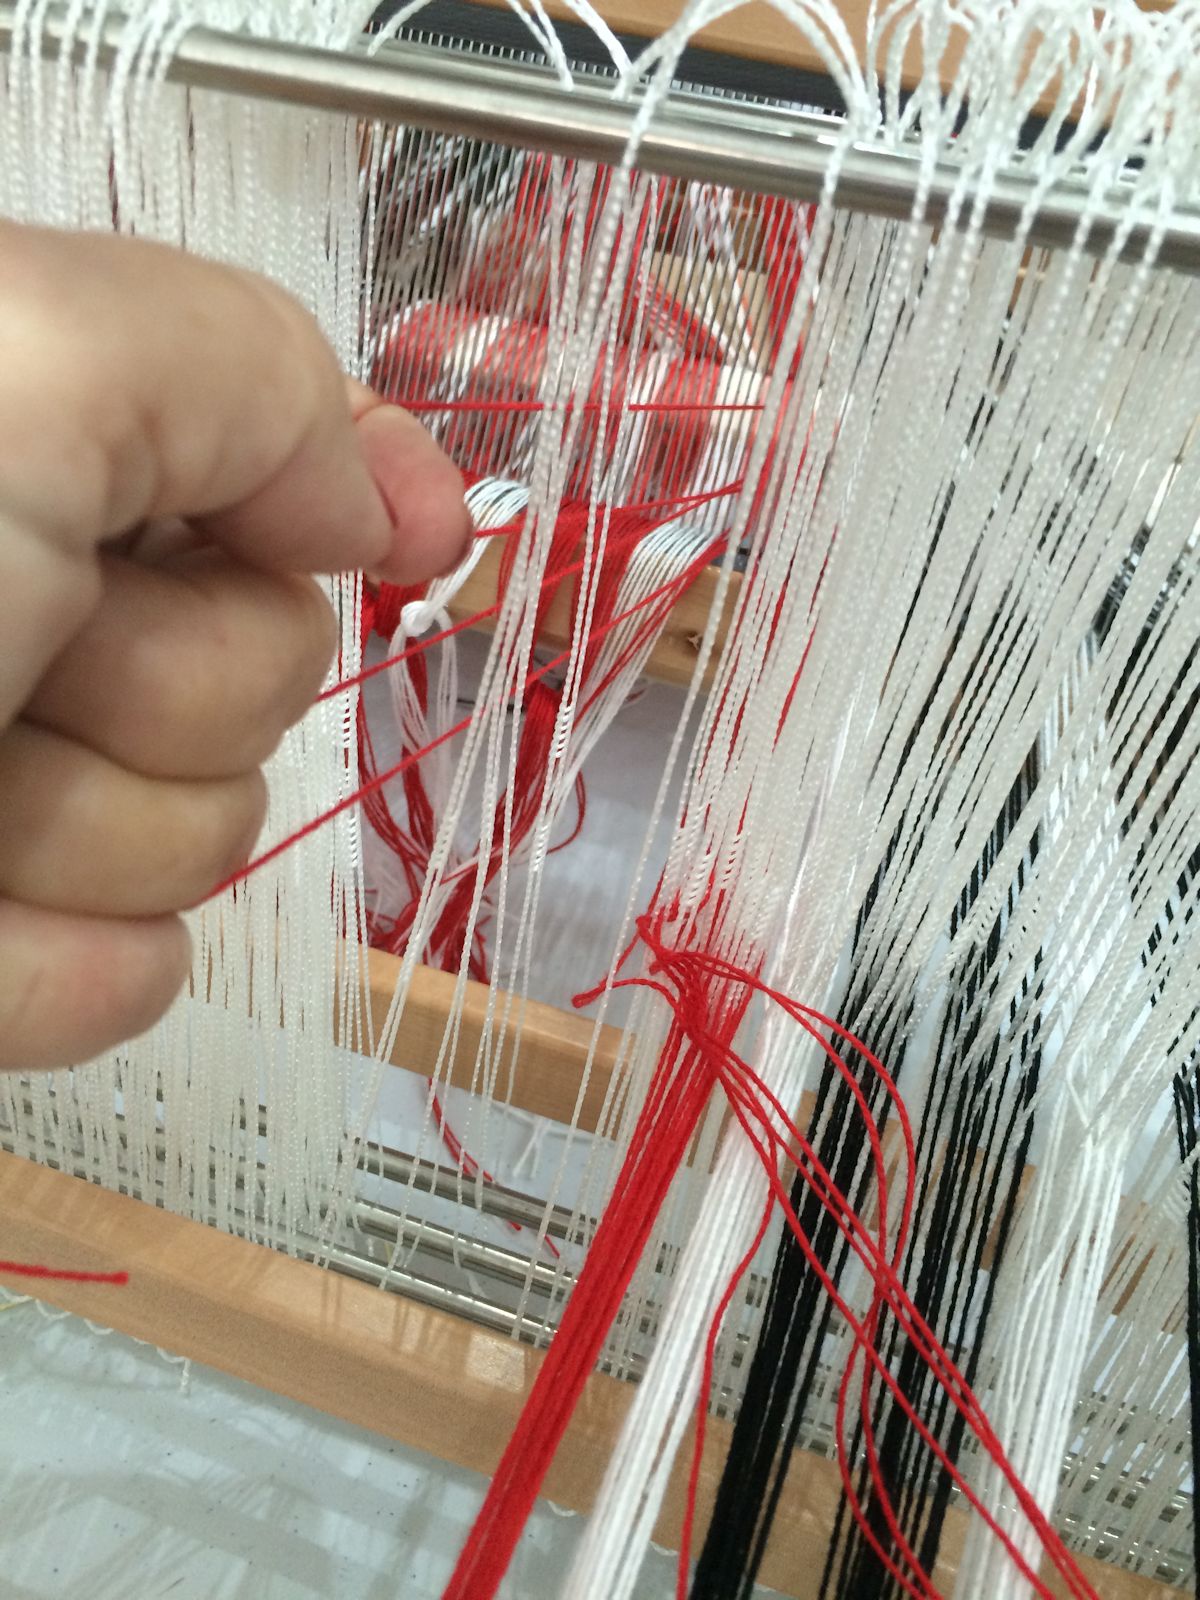
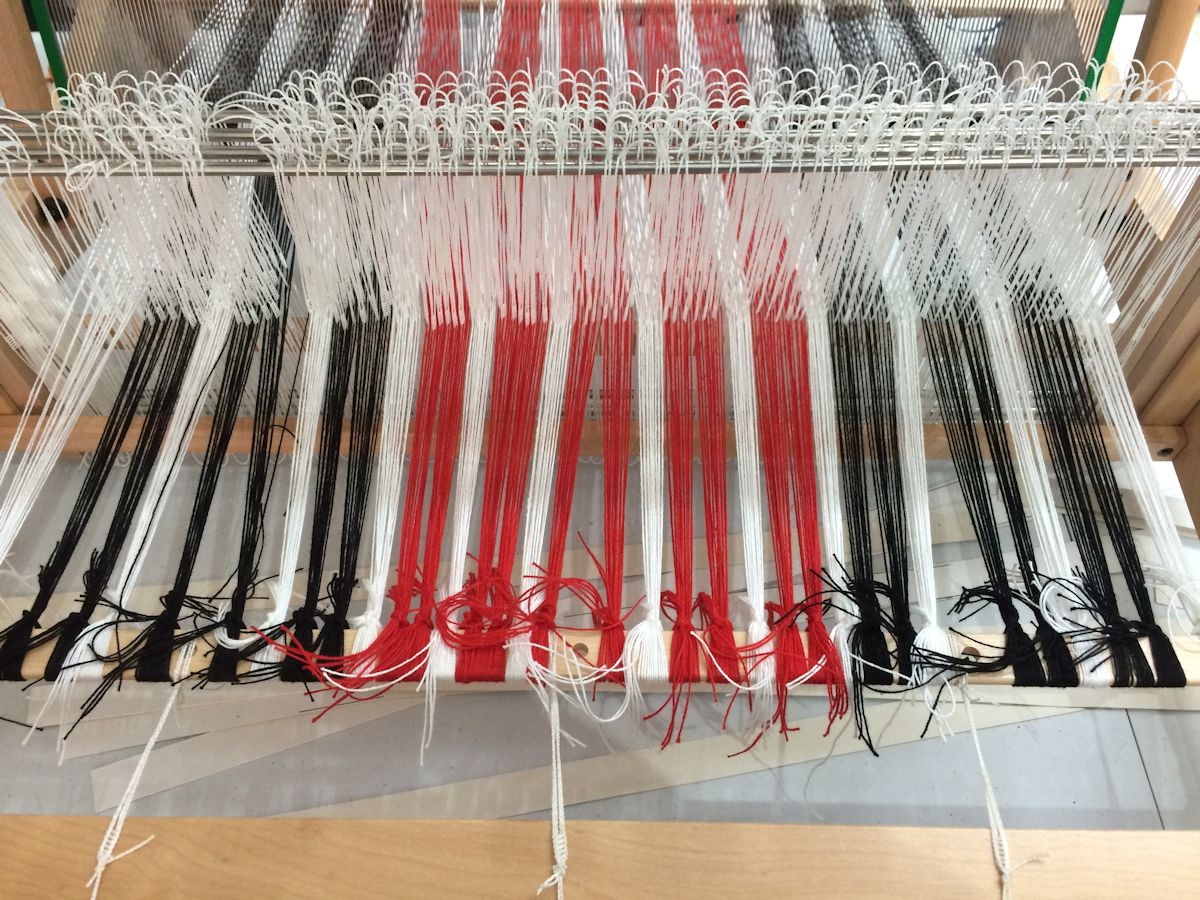
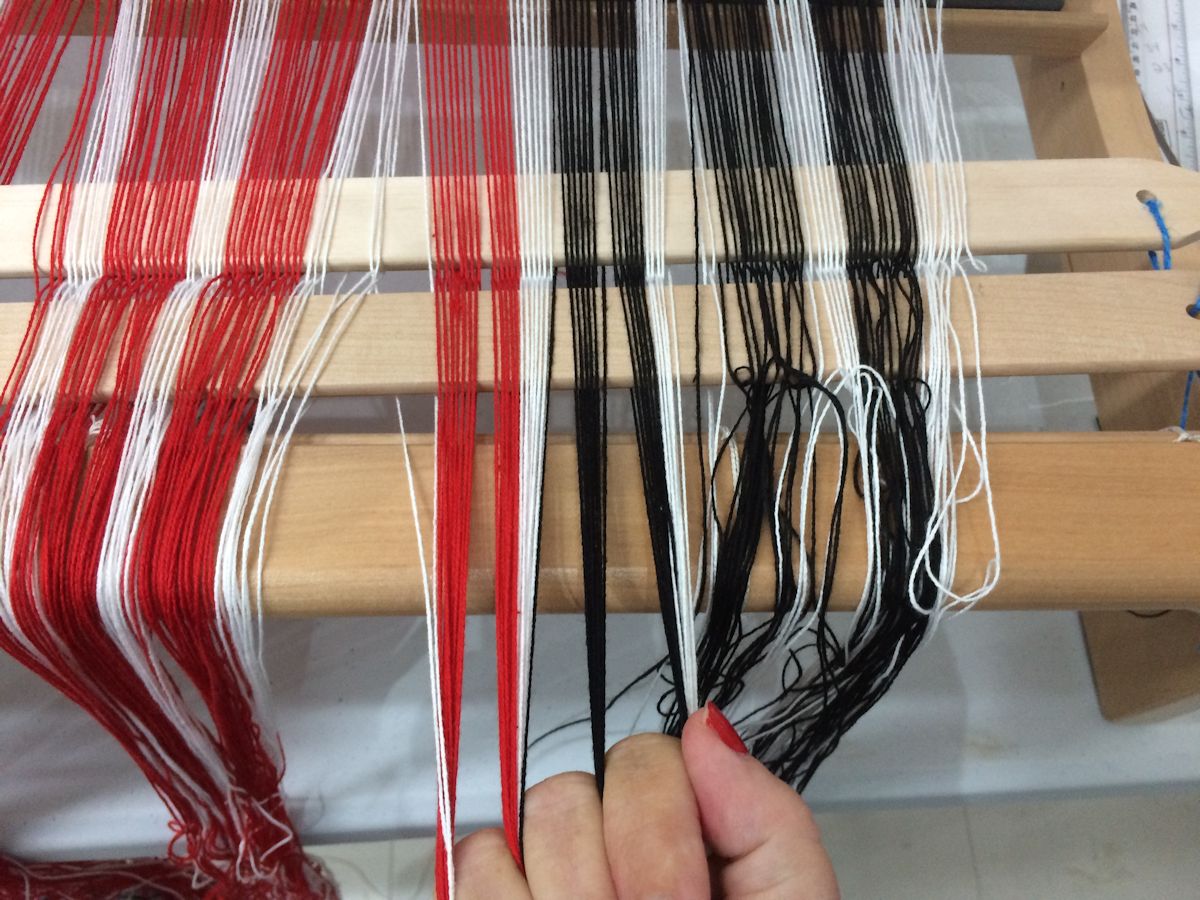
Following the warping plan, thread the warp ends through the heddles.
I usually work with a group of 4 threads, lacing them through my fingers and thread the next set of 4 heddles.
Tie the warp ends in small groups to the stick or back apron rod that has been attached to the back warp beam.
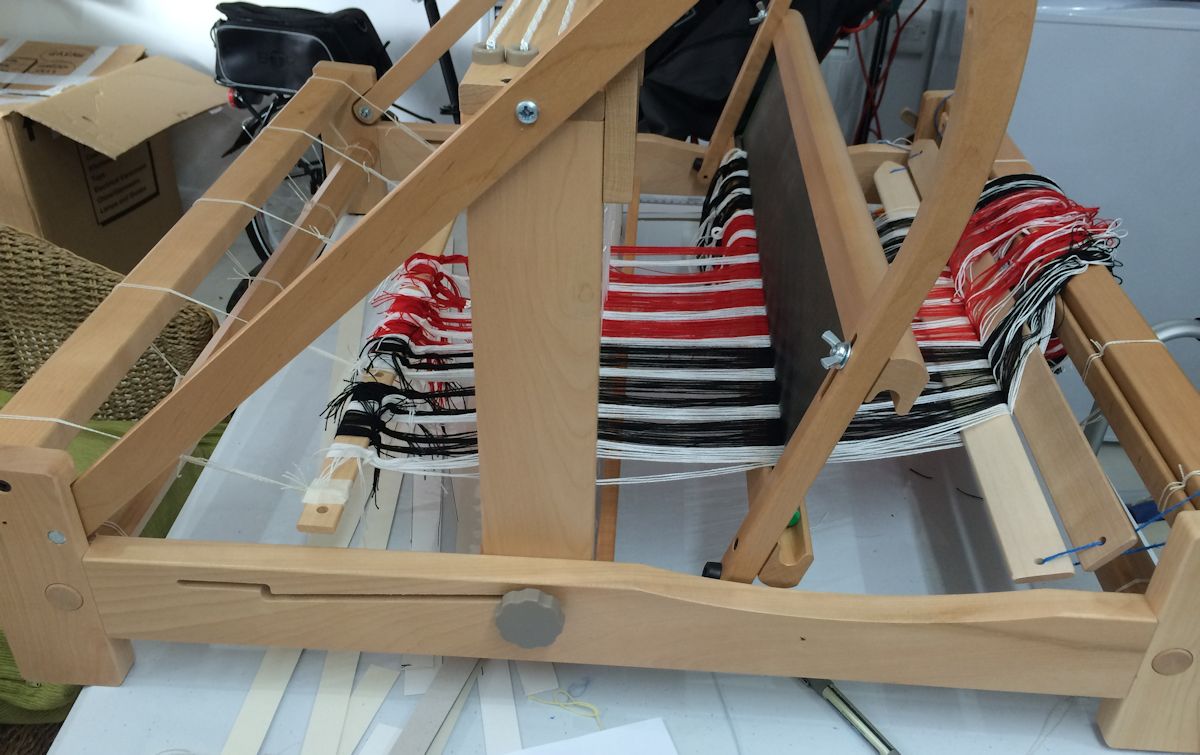
View from the side of the loom.
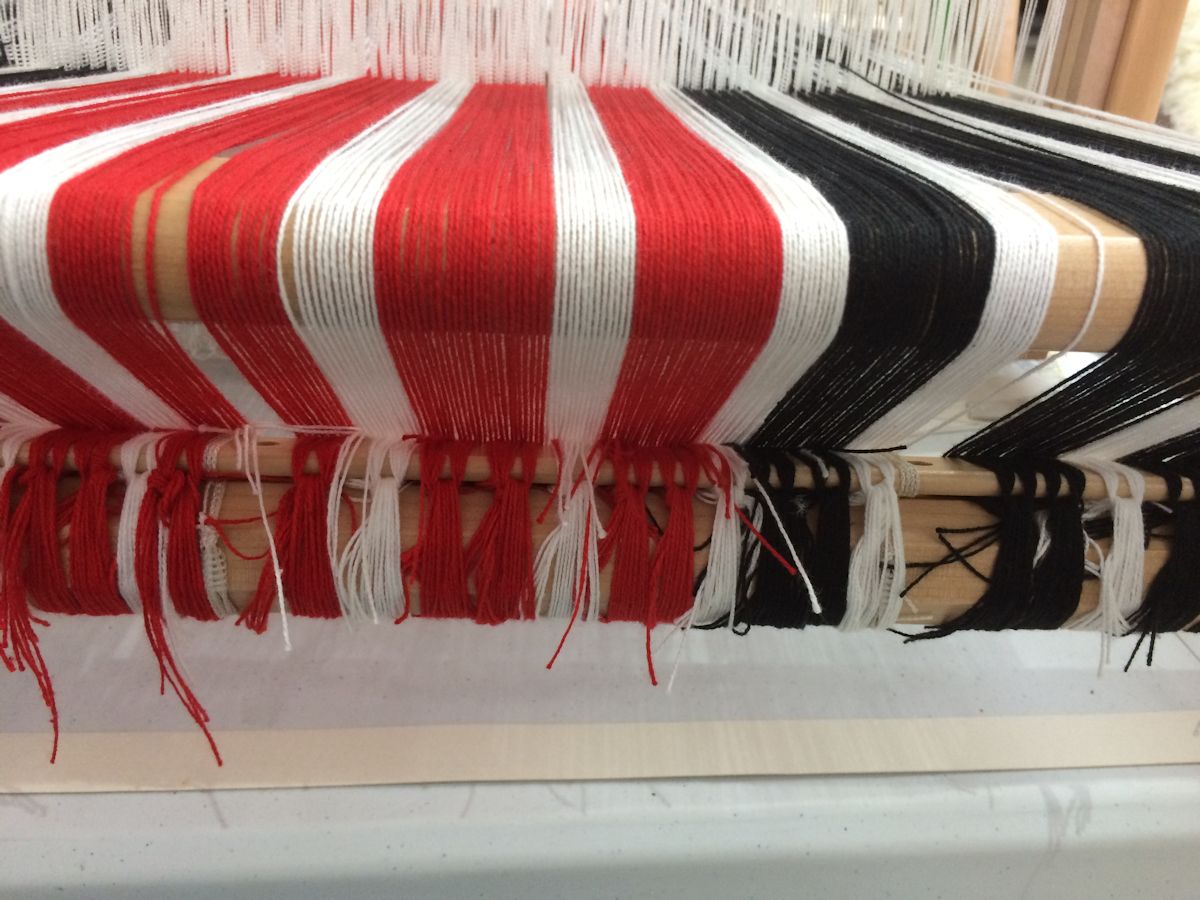
Once all of the warp ends have been threaded and attached to the back apron rod, you are ready to wind the warp onto the back beam.
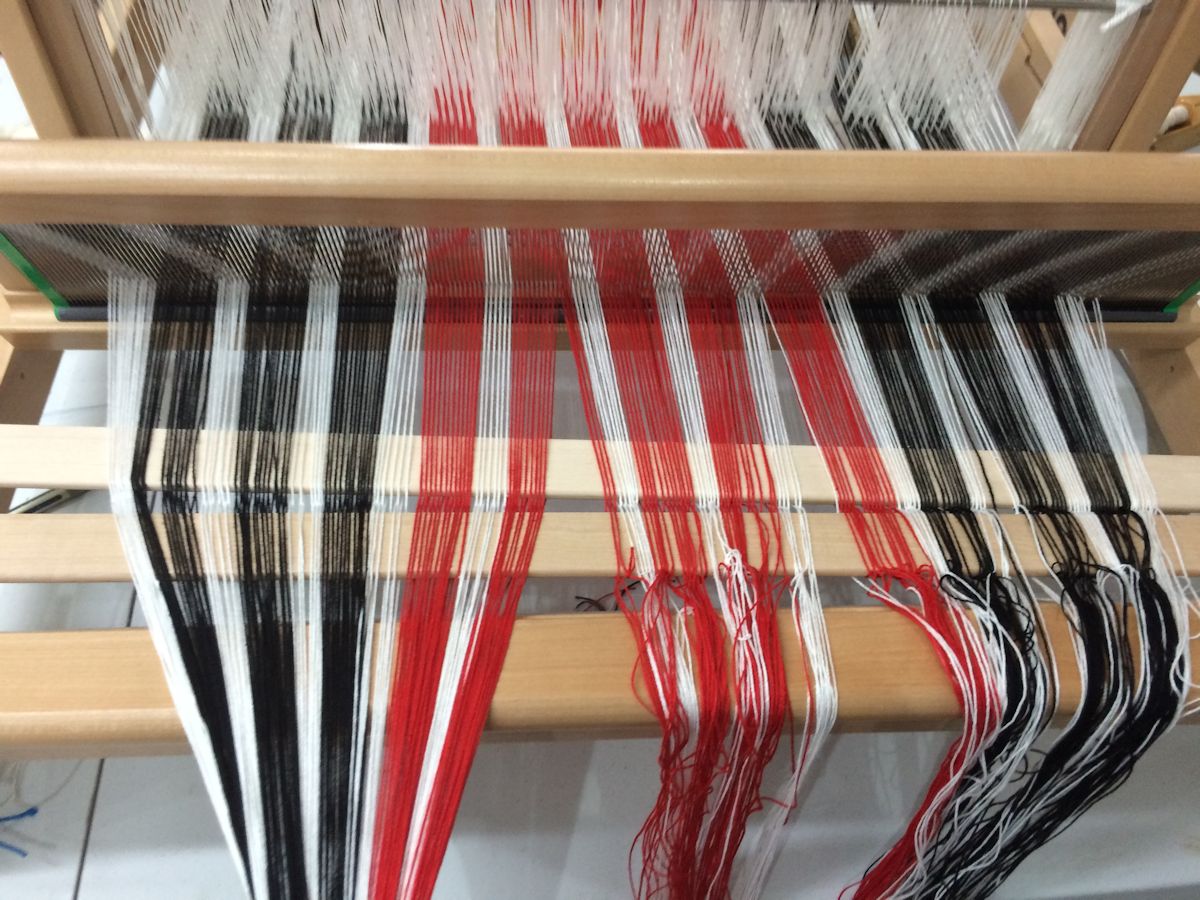
If you are beaming the warp by yourself, you will need to move to the front of the loom and straighten out any warp ends.
Smooth the tangles gently with your fingers. Once the warp has been smoothed out for the next 1/2 meter, move to the back of the loom.
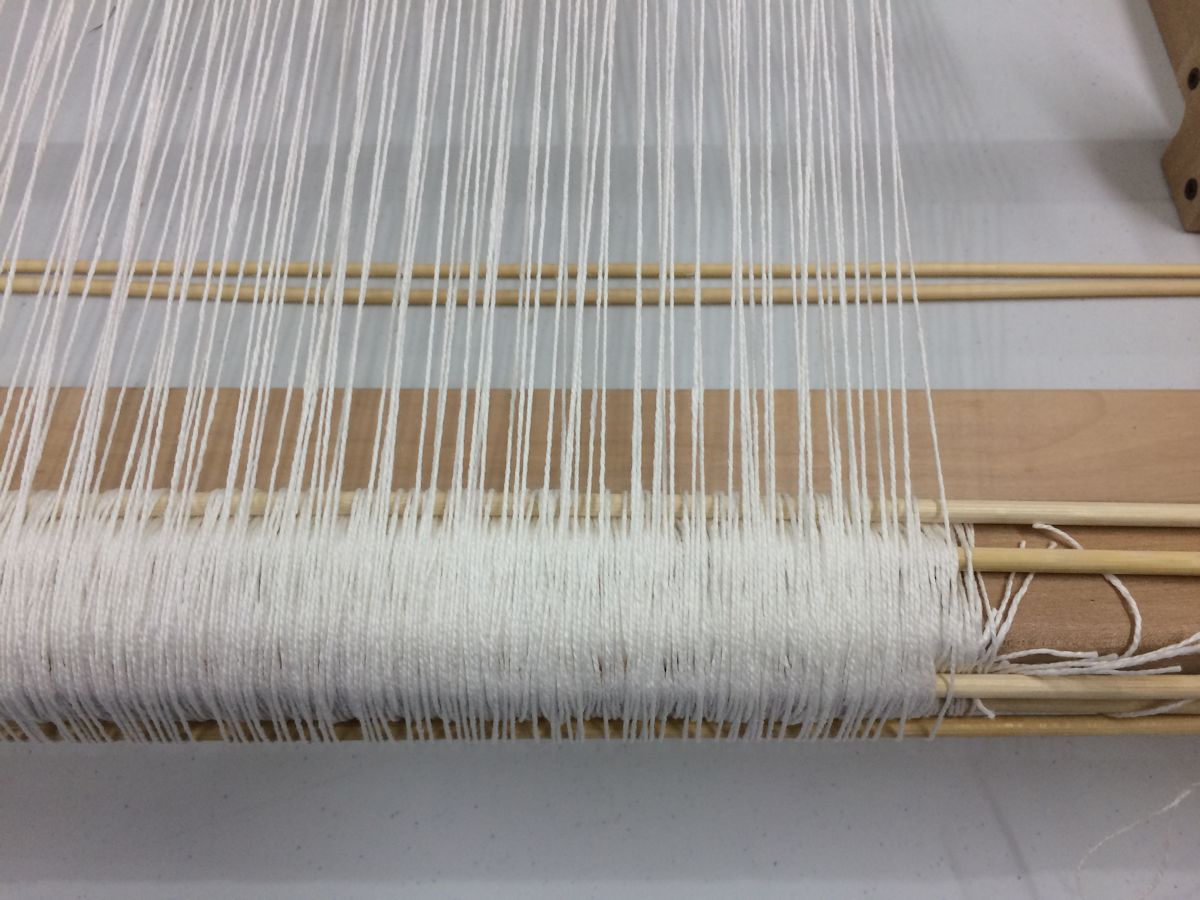
Move to the back of the loom again, and slowly begin to wind the warp on, checking for any loose threads.
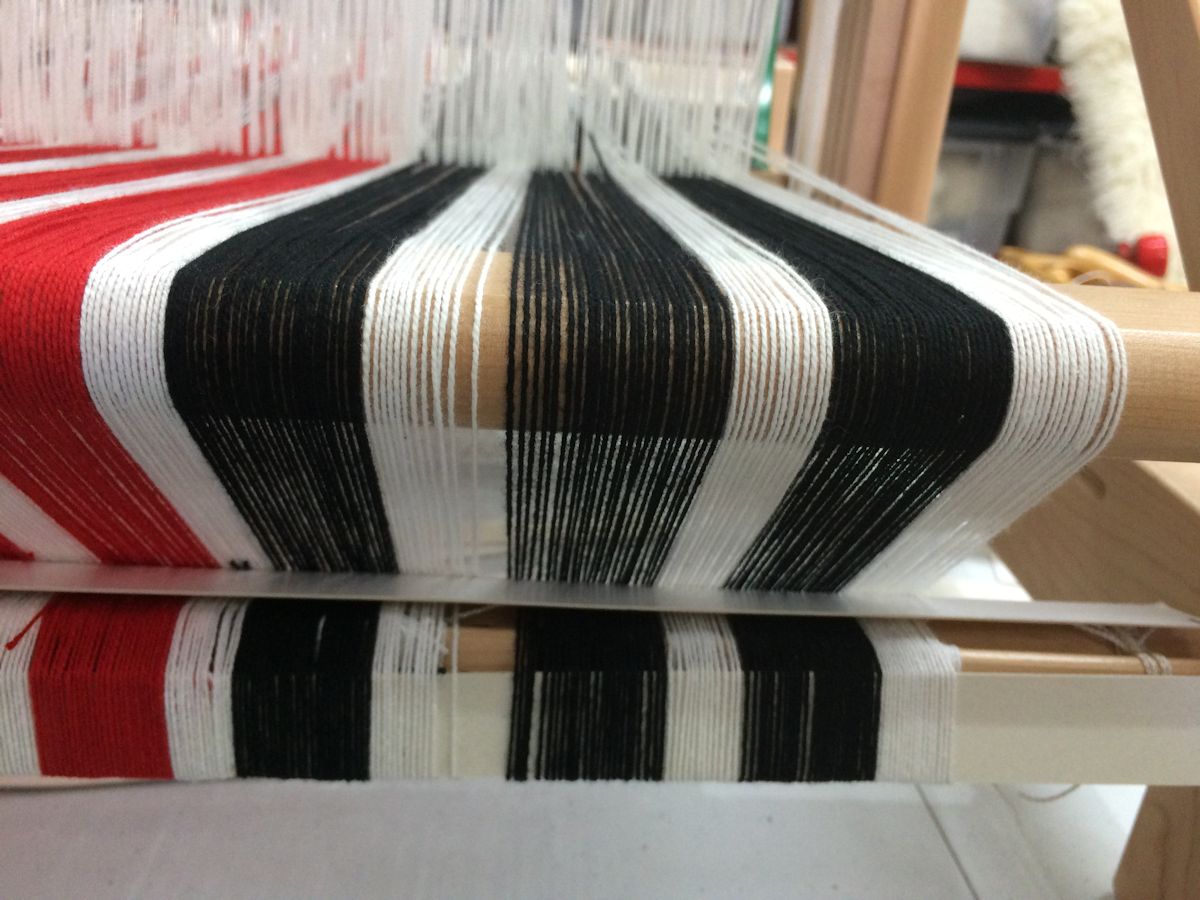
After every 3/4 turn, insert a piece of cardboard or a stick into the warp. This helps to prevent the warp yarns from slipping in between each other as you roll the warp. This will help to prevent uneven tension as you wind on.
After you have placed a cardboard strip or a stick, give a tug on the threads evenly across the warp to ensure that the tension is even.

Every half meter or so, you will need to go to the front of the loom again, to adjust the tension on the warp, and return to the back of the loom to wind on the next section of warp.
Repeat these steps until the warp has been beamed.
Once the warp has been fully wound on, cut the remaining warp ends and tie to the front apron rod.
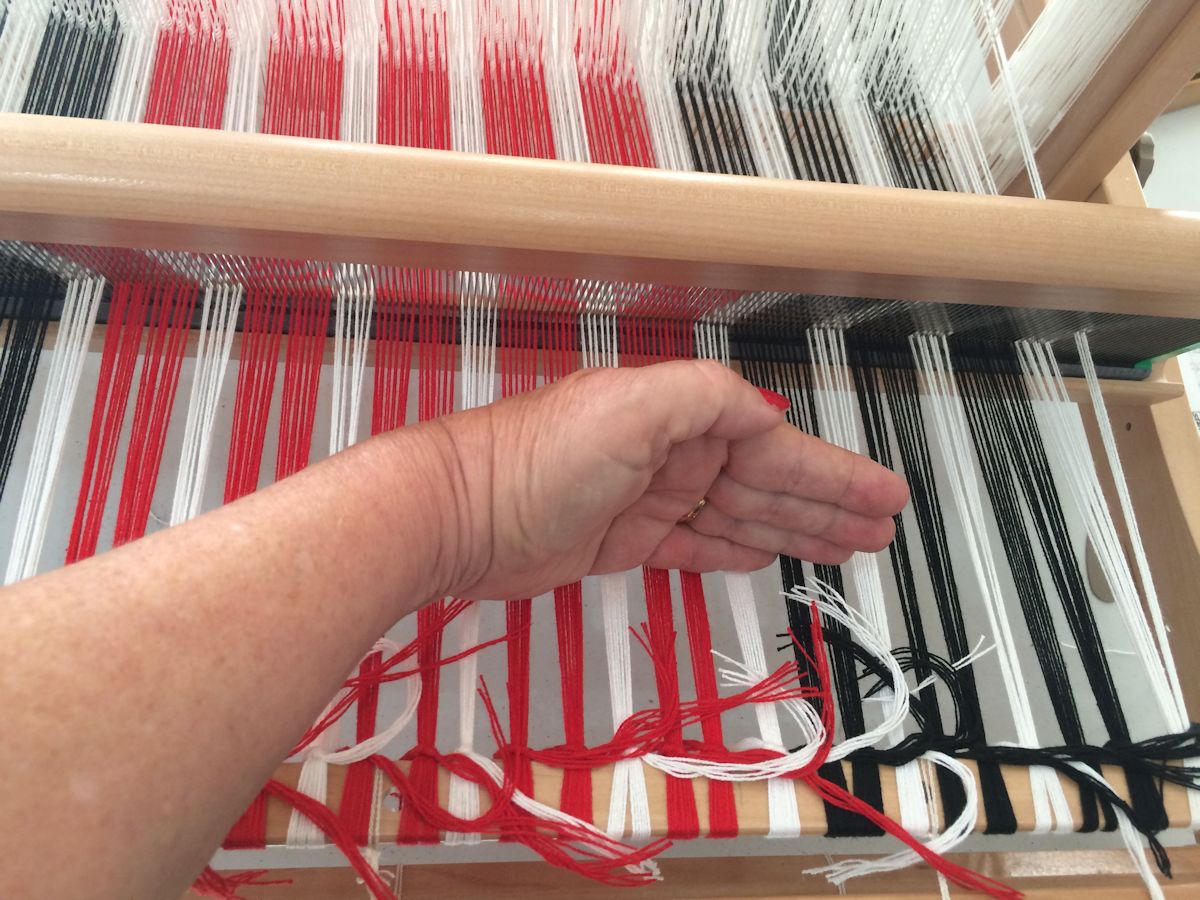
Check the tension by gently touching the warp with the side of your hand. Adjust and tighten any loose sections.
Congratulations! You are ready to weave!!
More About Warping Table Looms
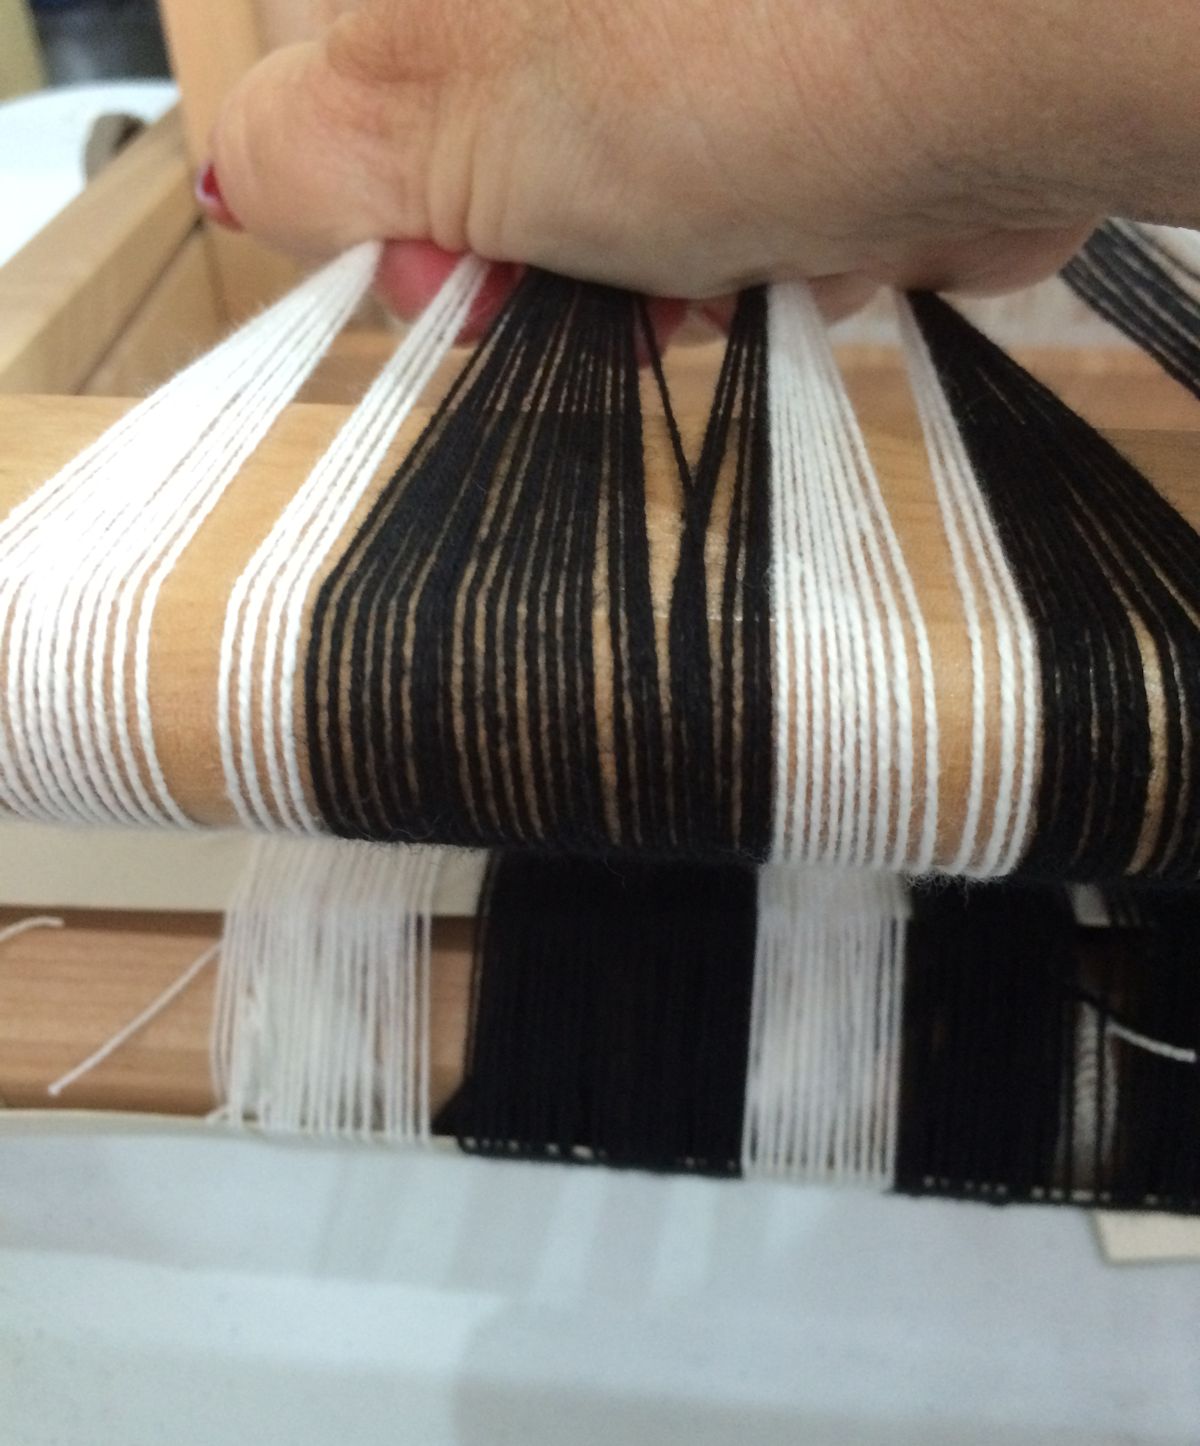
It can be quite tricky to wind a warp evenly on a small table loom. The circumference of the back beam is not very big (as in a floor loom) so it takes several revolutions to wind the warp on. The thickness of the warp grows very quickly, so the warp tension is harder to control. If you use paper as a divider, the edges of the warp can easily slip and drop to the sides of the wound warp, creating uneven tension.In this warp, I have used the cardboard strips that came with the Ashford loom. They are a bit better than wrapping with paper, but the cardboard is a bit soft, so creates some bumps in the warp as you are winding – which changes the tension of the warp.
Using warp sticks is a better alternative because the sticks are rigid so the warp can’t wedge itself between other warp yarns and help hold the tension better.
Extra long bamboo skewers are great for using as a warp separator on small table looms. They are thin and can easily be cut to fit the width of your loom.
AMAZON Hand Weaving Books
Weaving on a Little Loom (Everything you need to know to get started with weaving, includes 5 simple projects
The Key to Weaving: A Textbook of Hand Weaving for the Beginning Weaver
The Weaver’s Companion (The Companion Series)
Learning to Weave
The Big Book of Weaving: Handweaving in the Swedish Tradition: Techniques, Patterns, Designs and Materials
The Handweaver’s Pattern Directory
A Weaver’s Book of 8-Shaft Patterns: From the Friends of Handwoven
Krokbragd: How to Design & Weave
Doubleweave: On Four to Eight Shafts
Double Weave: Theory and Practice<
Magic of Doubleweave: The Best of Weaver’s (Best of Weaver’s series)
Weaving In the Arts: Widening the Learning Circle
DIY Woven Art: Inspiration and Instruction for Handmade Wall Hangings, Rugs, Pillows and More!
On the Loom: A Modern Weaver’s Guide
SHOP ON EBAY FOR WEAVING LOOMS
BAND WEAVING
RIGID HEDDLE LOOMS
USED FLOOR LOOMS
 LONGTHREAD MEDIA VIDEO
 LONGTHREAD MEDIA SUBSCRIPTIONS
HANDWOVEN MAGAZINE
PIECEWORK MAGAZINE
SPINOFF MAGAZINE
LEARN LONGTHREAD MEDIA
PAIVATAR HANDMADE
LONGTHREAD MEDIA SUBSCRIPTIONS
HANDWOVEN MAGAZINE
PIECEWORK MAGAZINE
SPINOFF MAGAZINE
LEARN LONGTHREAD MEDIA
PAIVATAR HANDMADE
 Paivatar on YouTube
Visit my YouTube channel for how-to craft videos.
Paivatar on YouTube
Visit my YouTube channel for how-to craft videos.
Or Please visit my Channel on Rumble for more how-to videos.
https://rumble.com/Paivatar
LIVE STREAMS - Paivatar Studio
KICK
TWITCH MAKERS&CRAFTING
YOUTUBE
Categories: HAND WEAVING, How To, LOOMS